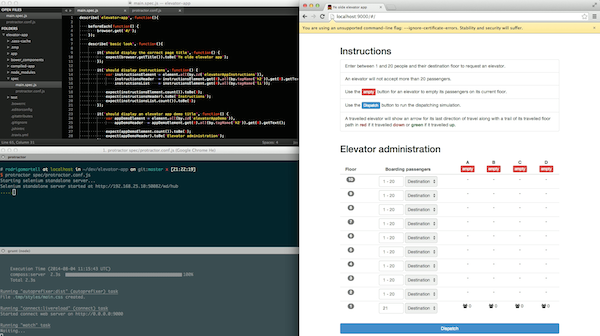
Manually testing web apps from the user’s point of view (end-to-end or e2e for short) sucks. It is time-consuming and tedious, especially so when one needs to verify one’s application works on a multitude of browsers. For a simple app the time to set things up for e2e testing may exceed the time it takes to perform the tests manually. When it doesn’t, however, automation starts looking good. In the past, time constraints have meant I haven’t automated e2e testing and I pledge to be a better citizen henceforth.
AngularJS has had e2e testing from the start via karma using Angular Scenario Runner. However, it is now recommended to leave karma to unit tests and use protractor instead.
Eager to get started I found an egghead.io video I intended to follow but found it was outdated and I ran into some issues during installation, quickly realising I had no grasp of the basics of the main moving parts in the set up. Knowing this would help make sense of some of the errors I was getting so I first set out to understand how protractor talks to the browser and then came back to the tests.
This post first gives a summary of how I understand protractor to work with the browser and then uses an AngularJS app I have on Github to put it all together.
The main cogs
Browser automation projects have been kicking around for a while but one that had stuck to mind was Selenium (a good resource to learn more about it is at guru99’s selenium tutorial. I hadn’t used it before but knew roughly what it could do. In their words, Selenium “automates browsers. That’s it!”. It is more of a tool that can be put to use in different jobs and that’s exactly what protractor does : put Selenium (the WebDriver tool to be specific) to work to e2e test one’s Angular app.
Selenium isn’t just one tool but a set of tools as their project intro doc states. These tools apparently had some shortcomings, especially when it came to remote controlling the browser. That one in particular sparked the development of a separate project at Google, WebDriver, which had a great API amongst other benefits and which was later married to Selenium in captain planet-like fashion to yield a tool stronger than the sum of its parts.
A bit more specifically, WebDriver makes use of a target browser’s automation API to support automation. Its pre-marriage counterpart, Selenium-RC, apparently achieved automation by injecting JavaScript into the browser when loaded and used that injected JS to drive the automation. It follows that the use of a browser’s native API requires Selenium having access to the WebDriver for that specific browser, somewhere. Luckily Selenium already supports all major browsers via a set of WebDrivers.
The general set up then, as illustrated below, involves writing one’s tests using protractor, which uses the target browser’s API to send the browser’s WebDriver instructions, which then drives your application.

There is an optional Selenium server between your test and browsers’ WebDrivers in case one wants to run tests against remote selenium servers. It’s worth noting that if one runs WebDriver on one’s own machine it may use the locally installed browser versions without needing to run the Selenium server (see here). However, even when running exclusively local protractor seems to only allow one to do away with the standalone Selenium server when running tests against Chrome (see here). I’m not sure I understand why.
In the illustration above, notice how one still requires one’s application to be served somewhere. This is obvious to me now but my thick brain assumed protractor would spin up my web app for me so I didn’t need to do this. Of course, that’s dumb but I’m mentioning it so you don’t waste 10 minutes scratching your head about this and remember to first make sure your app is served and accessible on some URL.
This brief overview I hope is enough to make sense of any errors you may come across. During my research I made some interesting discoveries about Selenium but exclude them here in favour of focus.
Installation
From the image above, we can tell we need four things:
- Our web app served somewhere
- Selenium
- Protractor
- WebDrivers for our target browsers
#1 I’ll assume is already done using grunt serve from a Yeoman generator-angular scaffolded project. If you like you can clone a simple app I wrote and play with it. It’s not the best app in the world but it will do.
Luckily #2 and #3 can be done in one hit since protractor includes the Selenium standalone server (interacted with via the webdriver-manager program) and given it (protractor) is a node program, installation is easy enough through npm:
npm install -g protractor
After doing this one should have access to the webdriver manager which should be updated before continuing to make sure we install the latest binaries, ticking off #4:
webdriver-manager update
I later hit a snag that I traced back to this step. At the time of writing this step installed version 2.10 of ChromeDriver (WebDriver for Chrome). For a reason beyond me I couldn’t get protractor to run on Chrome with this version so I had to manually revert to version 2.9. I’m purposely running one version behind to make it work and others have reported similar issues - see here for a discussion on the issue. You may have to do the same.
That’s it, you will now have access to protractor by typing protractor in the terminal.
For the remainder of the post I’ll assume you have your app running on an accessible web server. For simplicity, I’ll assume you’ve made a clone of my simple app, cd-d into it and run grunt serve, which will begin serving the app on http://localhost:9000/:
[~]
git clone https://github.com/coderigo/elevator-app.git && cd $_
[~/elevator-app/]
grunt serve
Configuring protractor
Typically you’ll run protractor by giving it the path to a config file you place somewhere. The generator-angular scaffold placed an empty spec directory in the root of my app so I decided to create a protractor config file and specs in it.
[~/elevator-app/]
touch spec/protractor.conf.js && vi $_
This file is a simple node module that gets require-d by protractor. Here’s what mine looks like:
exports.config = {
    // Which WebDrivers to use
    multiCapabilities:[ // its single browser counterpart is 'capabilities'.
        {
            'browserName' : 'safari'
        },
        {
            'browserName' : 'firefox'
        },
        {
            'browserName' : 'chrome'
        }
    ],

    specs: [ // Where to look for specs
        './**/*.spec.js'
    ],

    baseUrl: 'http://localhost:9000/' // Where your app is being served from
};
I think it’s beautifully simple. Of course there are many more options but these basic ones get you well on your way. Genius.
Setting up a test
By default, protractor uses Jasmine to write tests, just like karma. It makes available at least two global variables : browser which is used to control browser navigation and element used to select and interact with elements.
I’m still very green to the API and all this so my basic tests are likely inelegant and inefficient. They give a good idea though. Here’s a watered down version of the spec for the main page - spec/main.spec.js:
describe('elevator-app', function(){

    beforeEach(function() {
        browser.get('#/');
    });

    describe('basic look', function(){

        it('should display the correct page title', function() {
            expect(browser.getTitle()).toBe('Ye olde elevator app');
        });

        it('should display instructions', function() {
            var instructionsElement = element.all(by.id('elevatorAppInstructions')),
                instructionsHeader  = instructionsElement.get(0).all(by.tagName('h2'))
                                        .get(0).getText(),
                instructionsList    = instructionsElement.get(0).all(by.tagName('li'));

            expect(instructionsElement.count()).toBe(1);
            expect(instructionsHeader).toBe('Instructions');
            expect(instructionsList.count()).toBe(5);
        });

    });

    describe('basic behaviour', function(){

        var firstFloorIndex,
            tenthFloorIndex,
            mockPassengerLoad,
            mockDestinationFloor,
            firstFloor,
            tenthFloor,
            firstElevator,
            passengersInput,
            destinationFloors,
            destinationFloor,
            dispatchButton;

        beforeEach(function(){
            firstFloorIndex      = 9;
            tenthFloorIndex      = 0;
            mockPassengerLoad    = '10';
            mockDestinationFloor = '10';
            firstFloor           = element.all(by.repeater('floor in floors'))
                                    .get(firstFloorIndex);
            tenthFloor           = element.all(by.repeater('floor in floors'))
                                    .get(tenthFloorIndex);
            firstElevator        = tenthFloor.all(by.repeater('elevator in elevators'))
                                    .get(0);
            passengersInput      = firstFloor.all(by.model('floor.passengers.boarding'))
                                    .get(0);
            destinationFloors    = firstFloor.all(by.tagName('option'));
            destinationFloor     = firstFloor
                                    .all(by.model('floor.passengers.destinationFloor'))
                                    .get(0);
            dispatchButton       = element(by.buttonText('Dispatch'));
        });

        it('should dispatch passengers to a requested level', function() {

            passengersInput.sendKeys(mockPassengerLoad);
            destinationFloors.get(1).click();

            expect(passengersInput.getAttribute('value')).toBe(mockPassengerLoad);
            expect(destinationFloor.getAttribute('value')).toBe('0');

            dispatchButton.click();

            expect(
                firstElevator.all(by.binding('elevator.people')).get(0).getText()
            ).toBe('10');

        });

        it('should empty an elevator', function() {

            passengersInput.sendKeys(mockPassengerLoad);
            destinationFloors.get(1).click();
            dispatchButton.click();

            expect(
                firstElevator.all(by.binding('elevator.people')).get(0).getText()
            ).toBe('10');

            element.all(by.buttonText('empty')).first().click();

            expect(
                firstElevator.all(by.binding('elevator.people')).get(0).getText()
            ).toBe('0');

        });

    });

});
As you can see, it’s a simple test with two describe blocks within the main describe. The first just tests some elements are there and display the expected text. The second describes some basic behaviour (it’s a lame elevator app) of the app like sending passengers to a requested level and emptying an elevator.
Notice that the topmost beforeEach() calls the browser.get() method of the browser object. This essentially tells each subsequent test to load the main page on the base URL we’re serving our app on: http://localhost:9000/.
Running the tests
With a spec written and our server serving the app on http://localhost:9000/, running the tests is as simple as typing into a terminal window:
[~/elevator-app/]
protractor spec/protractor.conf.js
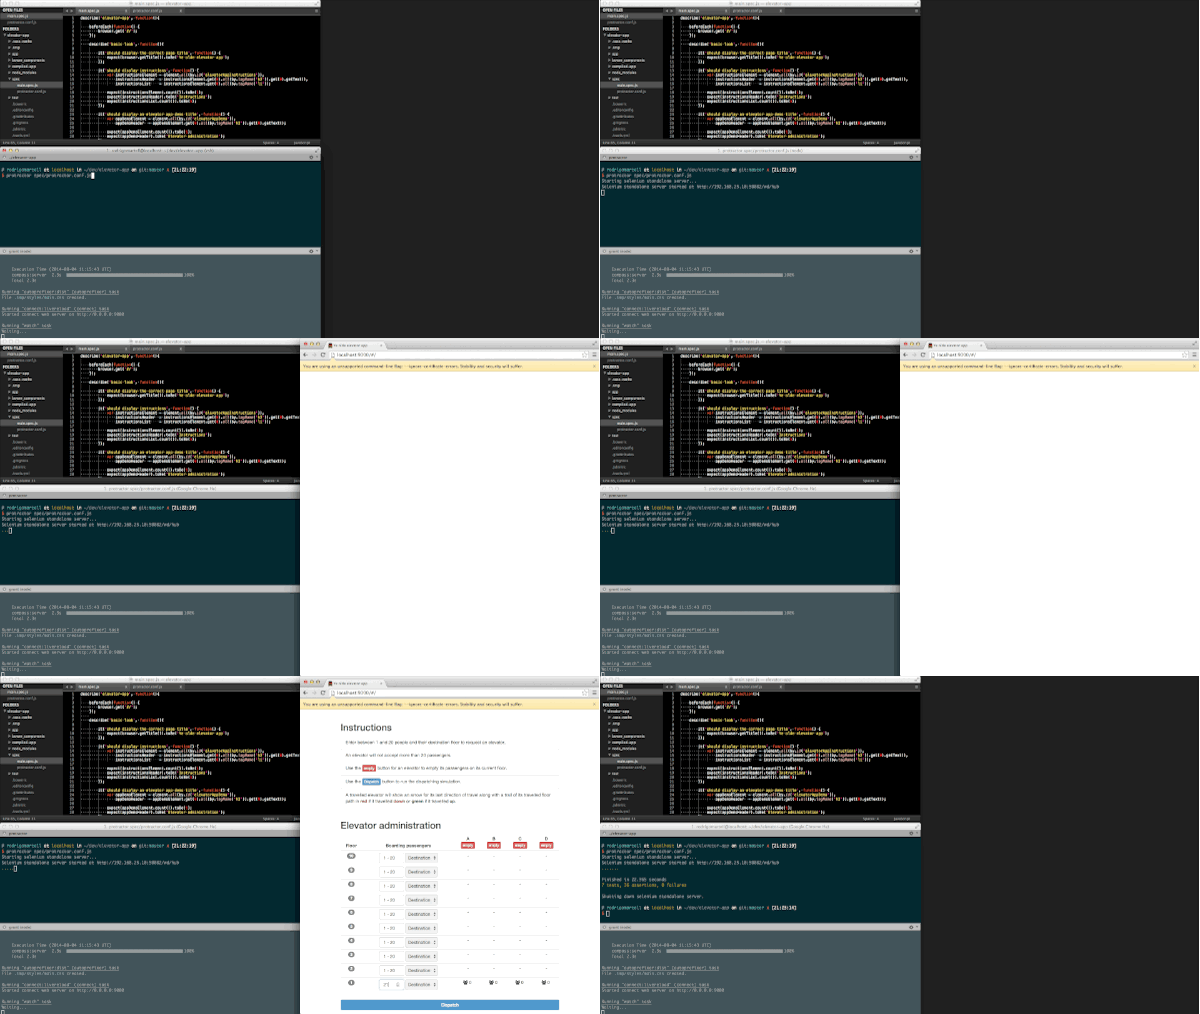
This will show you progress of the tests on all browsers you’ve configured to run on and you’ll see them magically appear on your screen with stuff being clicked and screens. Sugoi!

Because it was written for Angular it waits for the page to load Angular to do its stroll around the page before throwing your tests at it.
Test failures on a given browser are fatal (I think), so you should know pretty quickly if something’s barfed.
More stuff
I would like to do some more playing around with this to get better at the API as I can tell there’s too much repetition in it. I also saw and liked the idea of using Page Objects to bundle up pages of your app and make the tests more readable.
There’s a whole lot more one can do with protractor and the docs seem to be rapidly evolving. I’m far from expert at this but hopefully the post is of use to get started.