I used to fly mode 1 but since buying a Taranis Tx I switched to mode 2 since that’s all the seller I bought it from had left but also to be able to share gear with my flying buddy. Having the throttle on the left hand side means that to have one’s hand on the elevator at launch one must launch with one’s left hand or launch with the right and quickly move the right hand onto the controls. The former is hard for me to do as I’m right handed and the latter just feels like it’ll end in tears as that second or two between chucking the plane and getting the fingers on the stick are too precious to fumble.
I tried training my left side to throw by throwing the ball for the dog with my left and brushing my teeth every night with my left hand for weeks. While my dexterity I feel improved, I was still pretty weak and often launched very poorly with my left, causing annoying repairs right from the start of the flying session.
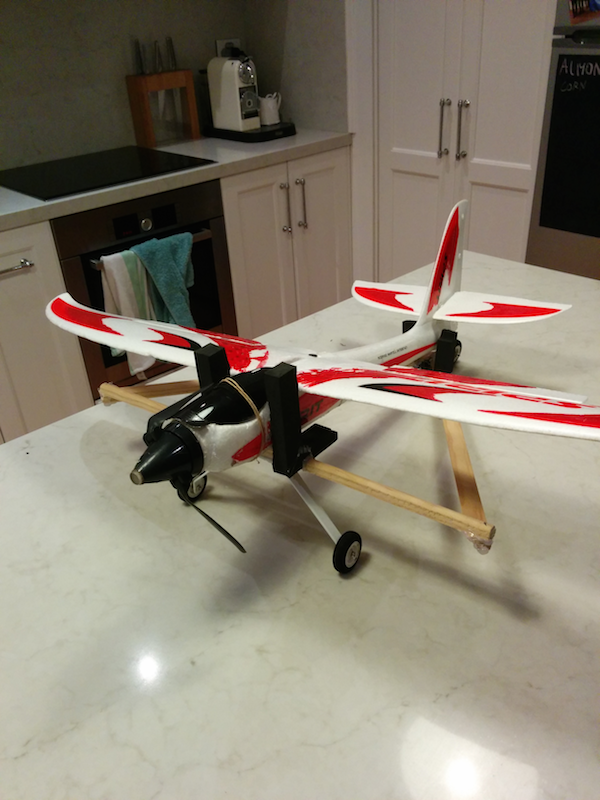
I smashed my Mini EZ Master in an unrelated incident and decided to use the landing gear I recovered from its crash site to build an undercarriage for my Spirit Mini that would not be attached in any way to the plane but would hold it at an angle while it built up enough lift to rotate and be on its way.
The build
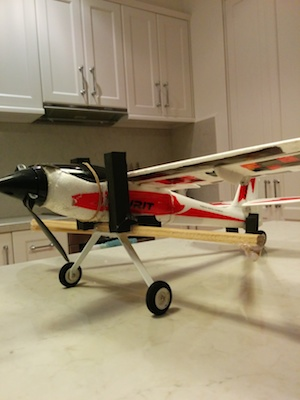
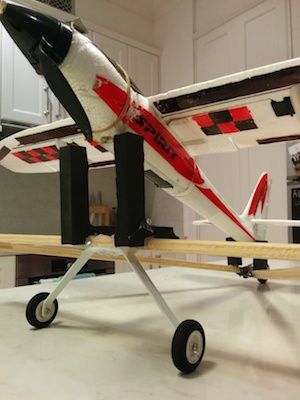
I’m the world’s most creative (read foolish) and (im)precise engineer so I did no research on this and just decided one night to bust out the dremel and use some spare skirting board wood that was kicking around the house to build the undercarriage that would form a sort of backwards pointing triangle under the plane to keep it stable-ish during take off and some way of having the wings push on the contraption without having the plane attached to it. It’s hard to describe but it’s easy to see from the pictures.
The Spirit Mini’s wingspan is 815mm so I eyeballed a reasonable length for the triangle’s sides to be 46cm and cut out three wooden pieces, nailed them into a triangle and hot glued them fixed.
I then took the Mini EZ Master’s back gear and screwed them to the front of the triangle and used the front wheel and glued it to the back of the triangle. To stop the plane moving around with bumps and keep it centered I used some foam I kept out of my DVR’s packaging. It’s stiff but spongy enough not to add too much weight and is easy to cut with a hobby knife. I added “guides” to the front and back and made sure they weren’t hugging the plane too tightly so that it could easily lift off.


The test
We got to try this out this morning at the park and it worked like magic the first time! Unfortunately we didn’t record that flight and the front gear loosened a bit after it, which led to a few subsequent failures but eventually we got it working again as you’ll see in the first part of the video.
It’s a bit difficult to keep it level at first because the motor’s spin wants to tip it to the left. I need to counter the roll so I make sure I get up to speed relatively quickly while applying a bit of right aileron and upward elevator and like magic it takes off easily!
I think I need to increase the angle of attack a bit as I feel it may take off quicker with a few degrees more. I also need to widen the front guides a smidge as the spirit has been so banged up and repaired (I call it the FrankenSpirit now) that it is not of even width and when it moves it can end up being hugged and the undercarriage won’t let go.
Overall I’m pretty happy with the little experiment. It took me all of 30 minutes one night and I’m looking forward to perhaps refining the design by making it collapsible and adjustable for any plane. For now, I’ll keep using this one to avoid hand-launching as much as I can as well as having draggy gear in flight.